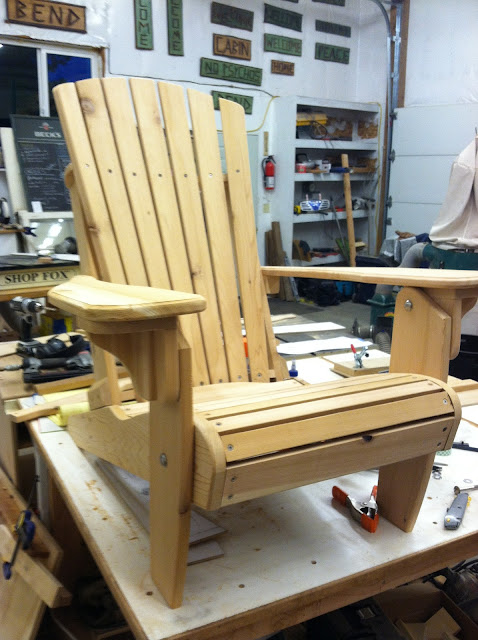
The finished Adirondack Chair.
To show the entire process would be pretty prohibitive, so here's how I did some of it:
The stock I'm using has a prefinished side on it, directly from the mill. After cutting the back slats on my new taper jig, I needed to remove all this stuff. After hitting many pieces with the belt sander, breathing in all the dust, making crazy noise, and a constant battle with clogging the sanding belt, I figured there had to be a better way. I looked around my bench, and there, basking in the filtered sunlight, was my Groz hand plane! AHA! Of course! Hand tools! No noise, no dust, faster, easier.
With all the expensive machinery, sometimes I get complacent and forget to go back to the time honored traditions, and sometimes they work even better! I made up a jig to hold the long slat stock in my vise, and went to town. Shavings are so much nicer than dust!
After hand planing to remove the finish, I hit the pieces with a quick sanding to remove plane marks, then over to the router to put a nice "eased" edge on all the corners with a round over bit.
Close up of knocking off that rough edge. A bit with a bearing like this is super nice. Even, consistent results.
Before- with the square edges that would make the chair uncomfortable, and on the right after running it through the round over bit. Ahhhh....
Dust collector losing a little "Oomph?" Rubber gloves & wood blocks in the impeller- yep, that'll do it.
With all the seat slats clamped together, I traced the arc for the rounded back, and broke out the jig saw. BAD IDEA. The up-and-down motion of the blade tears out the end fibers of cedar VERY EASILY. next time, I'll make up a jig to hold the slats together so I can use the band saw, which only makes a downward cut through the top, so tear out is minimized, and it only happens on the back side.
Belt sanding the edges. The jig saw left a lot of tear out, so it took a lot of belt sanding.
Next its on to the drill press to predrill all the screw holes. I made a few marks on the fence, so I can center each piece in a second.
Using a countersink bit to "round out" the holes, allowing the screw heads to sit below flush. You wouldn't want to catch your Angora sweater on a screwhead, would you?
On to lining up the slats on the back frame. First I find the center, then do the sides. From there, filling up the middle is a piece of cake. Angel food. With lemon frosting.
Here's how to do the slats the hard way- assemble them in place, standing up, fighting gravity and not being able to see what you're doing while leaning way over the bench to do all your predrilling and assembly.
NOT RECOMMENDED.
Coming along! Just needs some arms.
All done, just adding my stamp of approval.
Folded up and loaded in the truck for delivery.
Here they are at their new home- Mitch and Lesley's back yard. If there was ever a testing ground for outdoor furniture, this is it. Lots of entertaining, firepits throughout the year, snow, rain, sun, and of course dogs.
Not too shabby!
The security team on this delivery was vicious!
Sunset on the Deschutes later that night, overlooking Les Schwab Ampitheater. What a terrible place to live, huh?


i liked the last snap.. with glorious sunset :)
ReplyDeleteOnline Math Games