
Here's the finished product. Read on to see how I got it to this!
Step 1: Body creation.
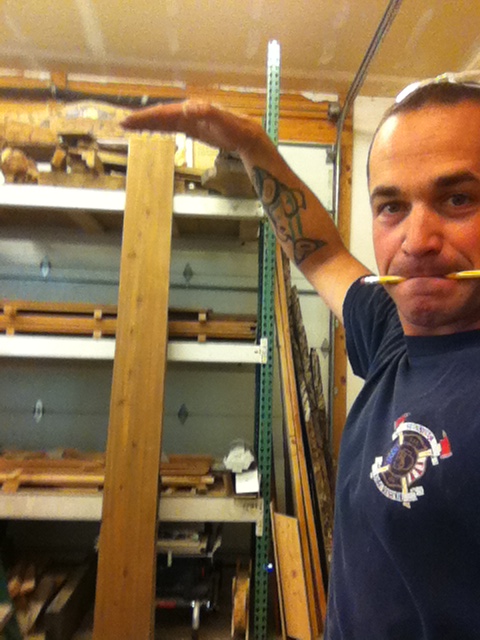
I decided to build the body of the table out of some really beautiful cedar stock- same stuff I use for all my Adirondack outdoor furniture.

First I laid out the pieces I wanted from each board, cutting out any of the ugier defects at the chopsaw station.

This stock has been pretreated on one side with a penetrating oil finish, so once I got all my boards selected...

...I ran them through the sander to take off the old finish.

The nice thing about the sander is that it works as a very fine scale planer, removing up to as little as less than 1/64th of an inch, without any snipe or tear out like you might have from a big planer.

...after a few more passes.

Fine tuning the thickness. Dead-on @ 3/4 inch. Sweet! It's gotta be an even thickness to get the next process to come out right- dovetailing.

So over to the Leigh dovetail jig. This thing is really incredible, but as you can tell by the dust buildup, I haven't used her in a while...

Sizing it up and deciding on the dovetail layout in the jig.

The stand I built for it worked out perfectly with the workbench height. Just tall enough to fit the 4 foot long boards in there!

Since I was routing at near eye level, I opted for the super fashionable full face protection.

Uhhh.......
Works great!

The fit is just a liiiiittle to tight. It should go together with light taps from your hand, but not need a mallet to pound it in- otherwise it'll be too tight for glue. A small adjustment of the scale on the jig will fix this right up.

Slides right in. Like it was made to go there or something... (ahem... cough...)
Now, the depth needs a minor adjustment to get these to line up a wee bit closer.

With a minor adjustment back at the router, lowering the bit just a smidge...

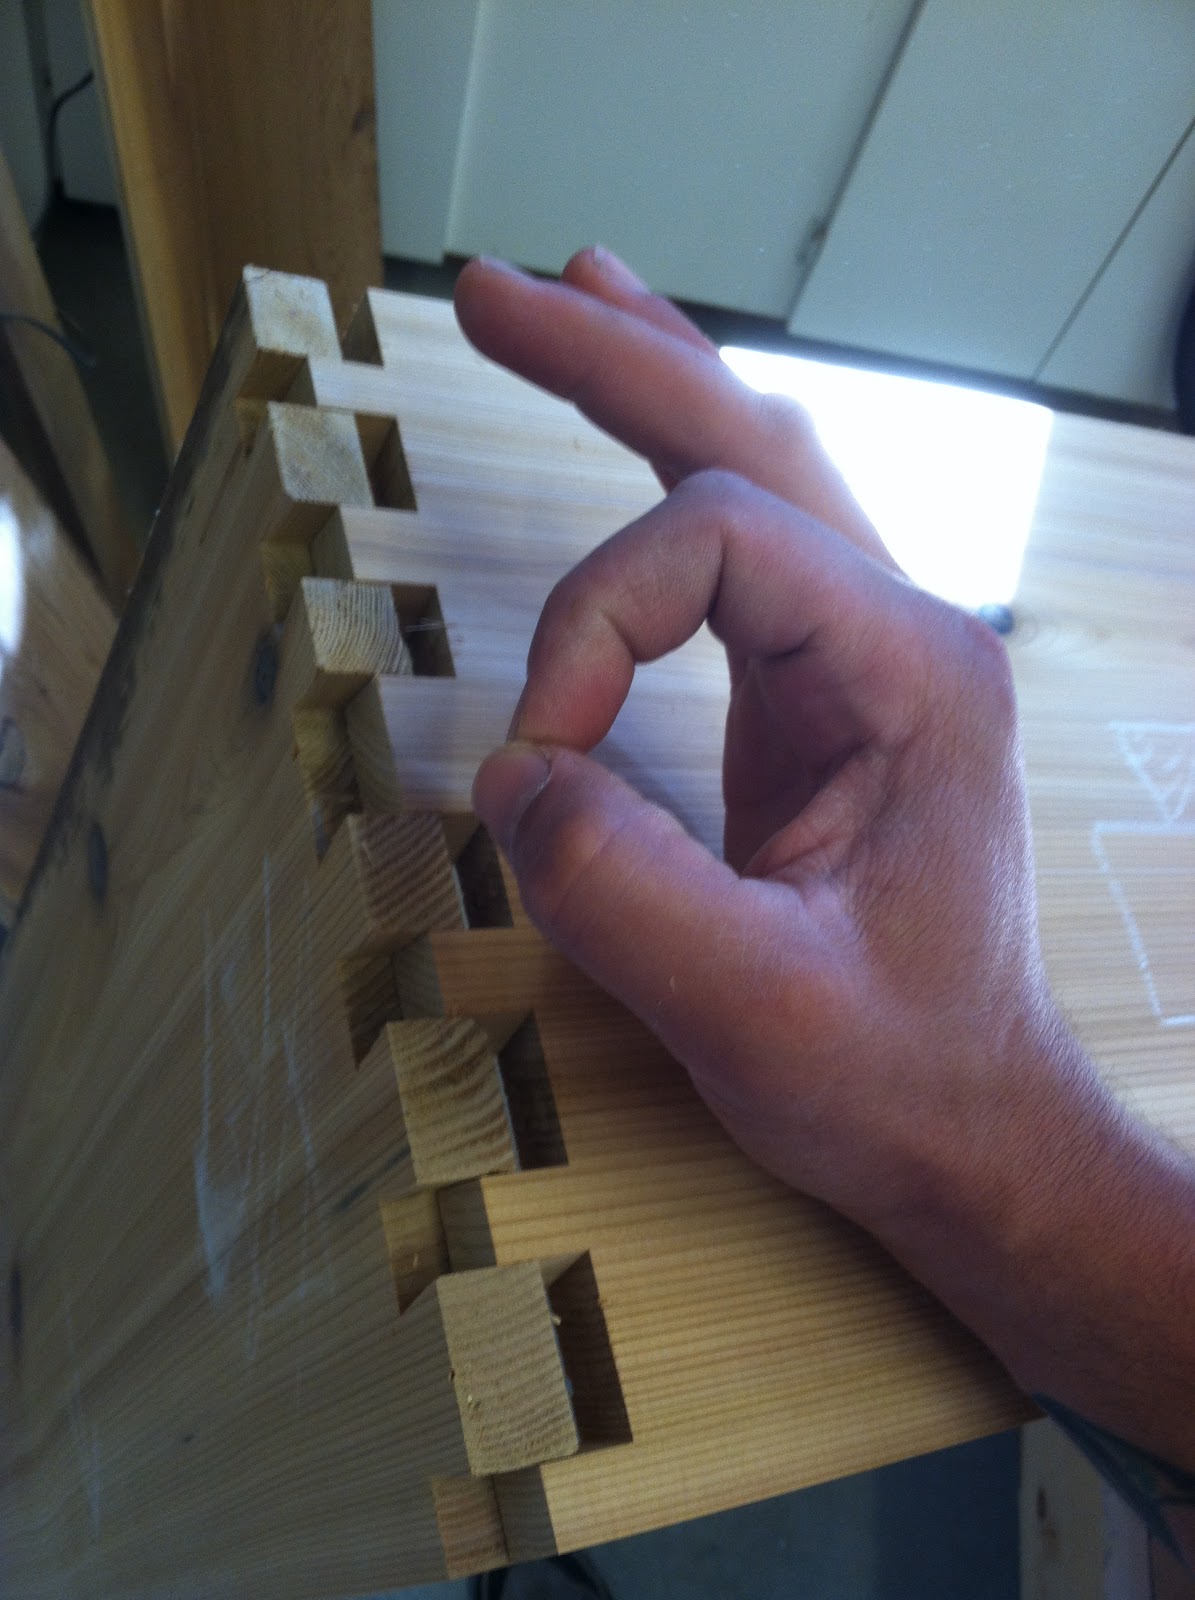
...and Walla! She's a beaut, Clark!

Next I routed the groove for the 3/4 inch plywood bottom. It's important to leave a little "ledge" at the bottom (right side of the pic) to hold the bottom in so it doesn't just fall out or break off under the weight of contents.

Time for a coffee break.
(I actually did this. Hilarious.)

Glue up was a bit interesting. With dovetails, it's important to spread glue on every mated surface. As you can imagine, it takes a while for all those little parts to get coated. You have to work fast so the glue doesn't set up before you finish getting it all clamped together. STRESS POINT! ...Especially when you realize that your clamps aren't long enough to reach the other side! Came up with this solution last minute- using wooden hand screw clamps in the middle, I just used them as the center point between clamps from opposite sides.
Not ideal, but not bad in a pinch.

Here she is, all glued up and ready for sanding.

Sanding it up. I need to wire up a grounding kit. When using the palm sander connected to the shop vac, it's pretty effective at collecting all the dust, but it shocks the living crap out of me from static buildup!

NEXT UP: Part 2 Trimming out the sand table.
Click here to right to the next part:
No comments:
Post a Comment